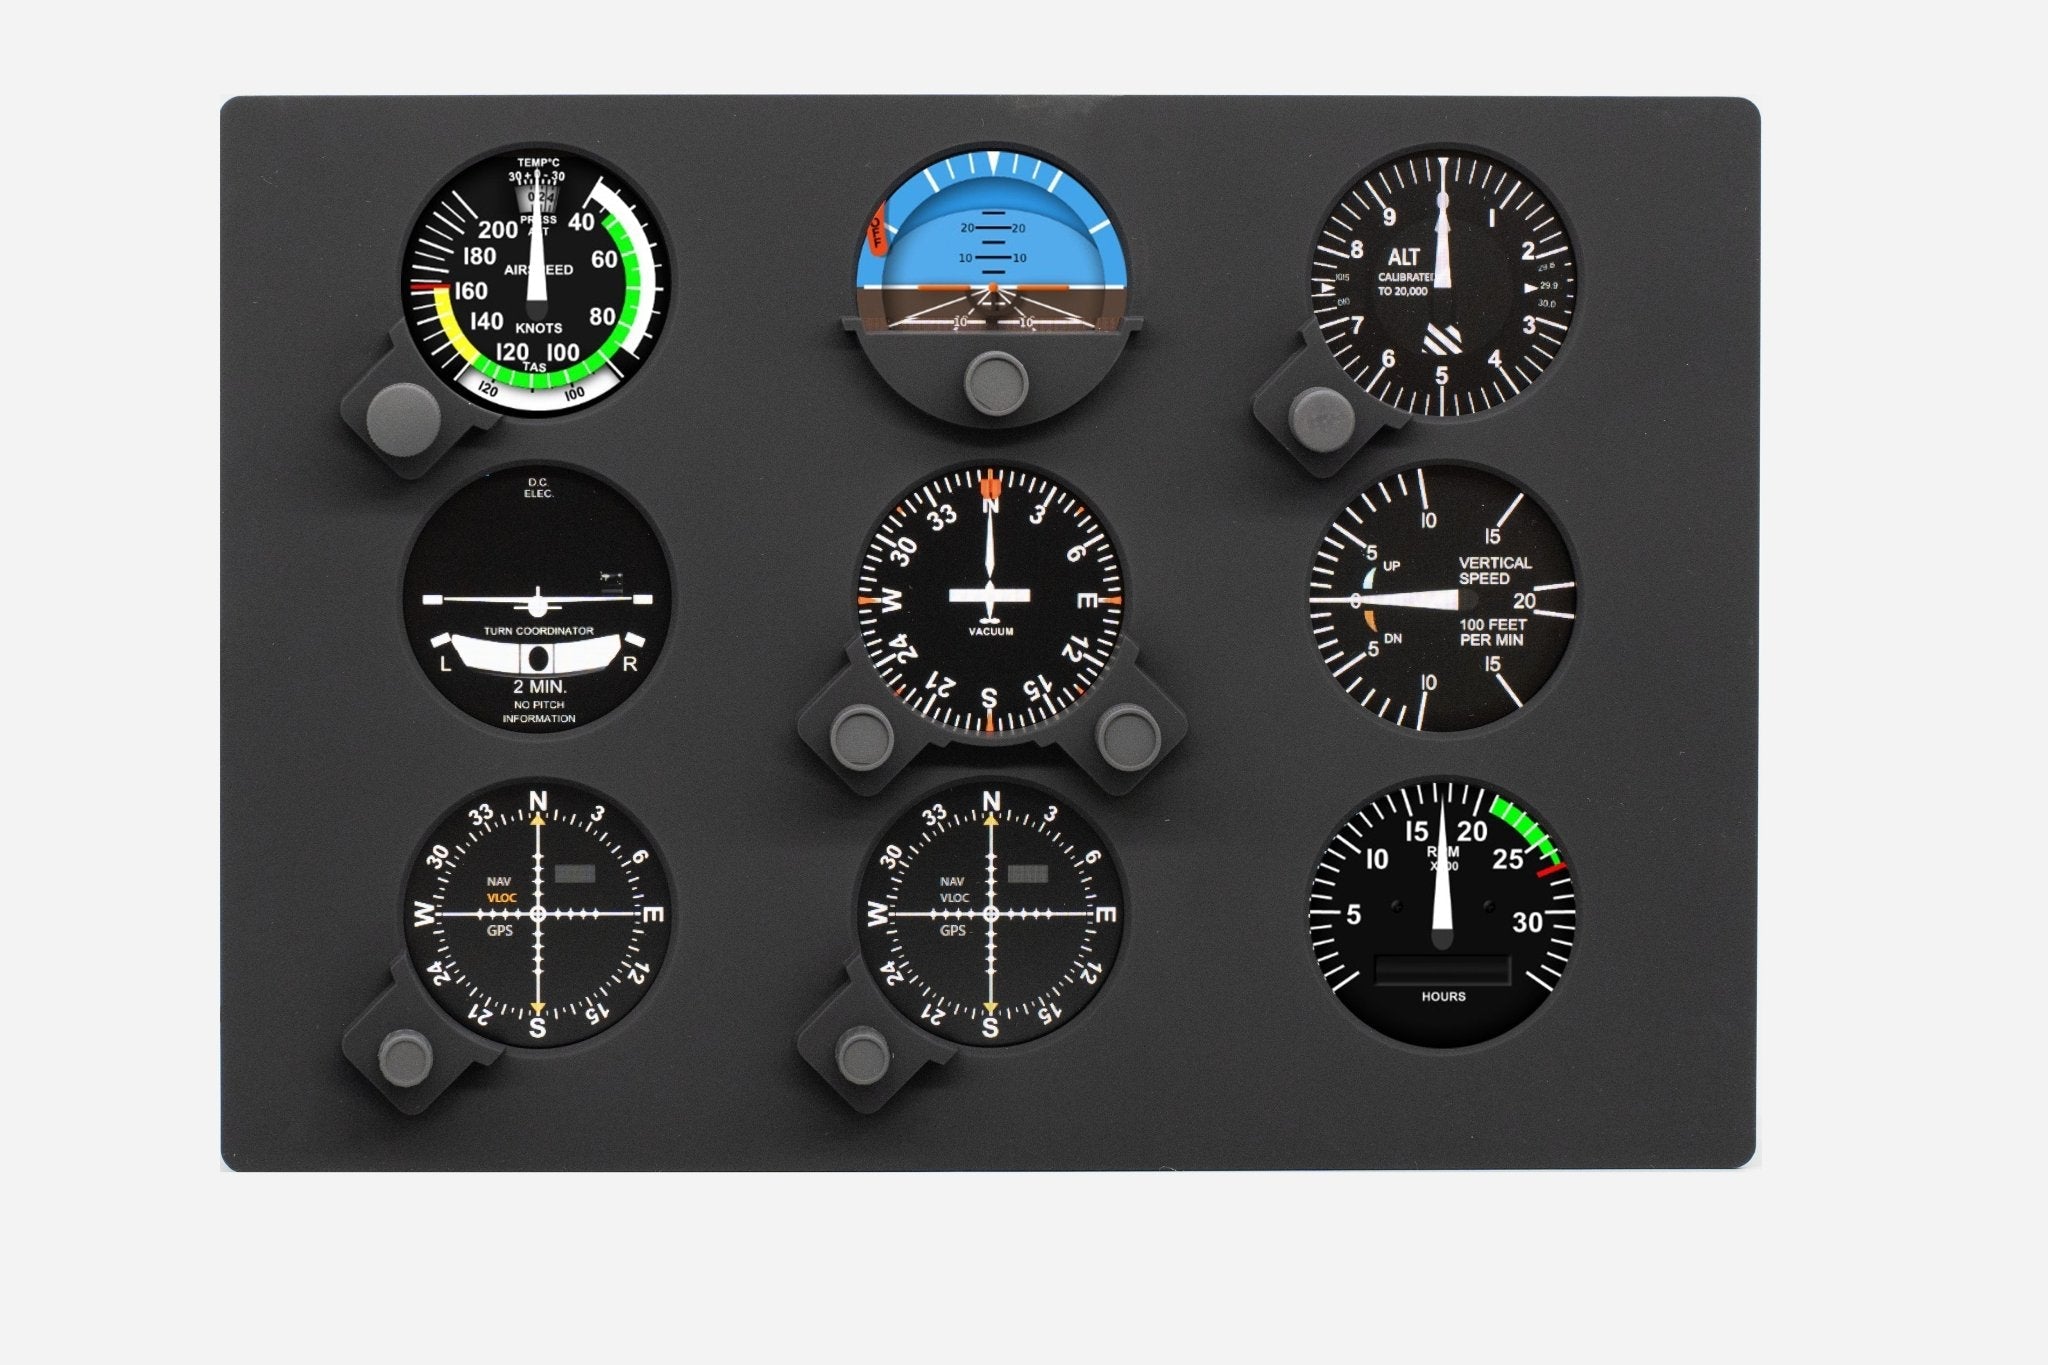
FlightSimBuilder Steam Gauges Instructions
I. General Setup
1. Connect three cables provided with the unit (usb, hdmi, power supply)
2. To power off the unit, press and hold first encoder
3. Make sure your Steam Gauges correctly positioned with 3 knobs on top. If the image is up side down, please rotate it to "Landscape Flipped" in windows using the instructions here
4. If the gauges are not showing on the unit screen but on your other monitor, you just need to press "Next Screen"on the Launcher window, so it moves to the correct screen and then it will remember it's position.
II. Assembly
1. Insert Steam Gauges unit into the metal stand
2. Secure provided mounting brackets (x4) by screwing them into the 4 mounting holes/nuts on the back of the unit
III. MSFS
1. Download FlightSimBuilder Launcher
2. Run Setup, this will install the launcher and create a link on desktop
3. Run Launcher from Desktop
2. Select your Installation Type
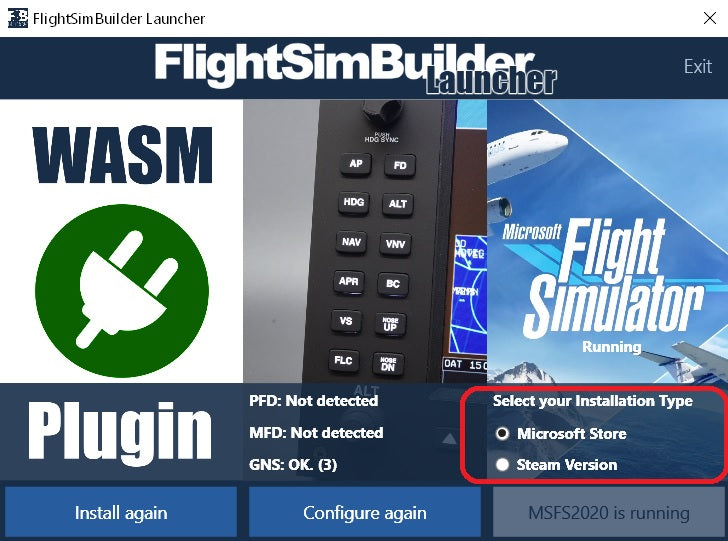
4. Click "Launch MSFS 2020" if the sim is not automatically launched
IV. X-Plane
1. Download FlightSimBuilder Launcher
2. Run Setup, this will install the launcher and create a link on desktop
3. Run X-Plane Launcher from Desktop (orange icon)
Legacy Setup
1. Download fsb_gauges, unzip and place "fsb_gauges" folder into \X-Plane 12\Aircraft\Laminar Research\Cessna 172 SP\plugins\xlua\scripts
2. Download FlightSimBuilder_Steam_Gauges.joy file and place it into \X-Plane 12\Resources\joystick configs\ folder
3. Close X-plane if it's running
4. Download FlightSimBuilder Launcher
5. IMPORTANT! Always use FlightSimBuilder Launcher to start X-Plane
PS. If the buttons / encoders are not working, please open control panel and navigate to FlightSimBuilder Steam Gauges. If the mapping is still empty, press "Reset to Defaults for FlightSimBuilder Steam Gauges on the bottom left.